Why You’ll Love This Italian Bread Recipe
You’re going to love this Italian bread recipe for its simplicity and incredible flavor.
I can’t tell you how satisfying it’s to create a warm, crusty loaf right in your own kitchen. The hands-on process is therapeutic, and the aroma that fills your home is simply irresistible.
Plus, it’s a great way to impress family and friends! I appreciate that you don’t need fancy equipment or ingredients, just some basic staples.
Each loaf turns out beautifully, with a golden crust and a soft, chewy interior. Trust me, once you try it, you’ll never want store-bought bread again!
Ingredients of Italian Bread
When it comes to making Italian bread, the ingredient list is invigoratingly simple. You don’t need anything fancy—just some basic staples that you probably already have in your pantry. This is what makes baking your own bread so delightful; it’s all about the love you put into it, right?
And trust me, when you see those ingredients come together, you’ll feel like a master baker in no time, even if you have flour dust on your nose.
Here’s what you’ll need to whip up a delicious batch of Italian bread:
- 3 cups warm water
- 1 tablespoon yeast
- 1/2 teaspoon sugar
- 1 tablespoon salt
- 6 – 8 cups unbleached flour
Now, let’s talk about those ingredients for a moment. The warmth of the water is essential; it activates the yeast, giving your bread that wonderful rise and airy texture.
And while you might think any old flour will do, unbleached flour is the way to go if you want that authentic Italian flavor and texture. It’s just a bit more wholesome, and I promise, your bread will taste a whole lot better for it.
As for the salt? Well, it’s not just for flavor—it actually helps control the yeast’s activity, making sure your dough doesn’t go wild.
How to Make Italian Bread
Making Italian bread is a delightful journey that starts with some warm water—3 cups to be exact. First, you’ll want to dissolve 1/2 teaspoon of sugar in that warm water and then sprinkle in 1 tablespoon of yeast. Now, here’s where the magic happens: let it sit for 10 minutes. You’ll see tiny bubbles forming, and it’s like watching a little yeast party start. Just don’t get too distracted; you don’t want to miss the moment when it’s ready.
Once those bubbles show up, stir in 1 tablespoon of salt and 4 cups of unbleached flour. Give it a good beat for about three minutes. This is your workout for the day, and trust me, it’s much less painful than an actual gym session.
After that initial mixing, it’s time to get your hands a bit messy. Gradually add in another 2 to 3 cups of flour, stirring or kneading until you achieve a good, stiff dough. When you can shape it without it sticking to your fingers like a toddler with glue, you’re on the right track. Knead that dough until it’s smooth and soft—think of it as giving your dough a mini spa treatment.
Once it’s ready, grease a good-sized bowl, turn the dough over in it so all sides are lightly greased, and cover it with plastic wrap. Now, let it rise in a warm spot until it doubles in size. This is where the anticipation builds; you might even find yourself peeking under the wrap every five minutes, as if you’re waiting for a surprise party to start.
When your dough has puffed up like a balloon, it’s time to punch it down—yes, you heard that right. Divide it into three parts and knead each one before returning them to the bowl, covering them up for another rise. Preheat your oven to 450 degrees while you wait.
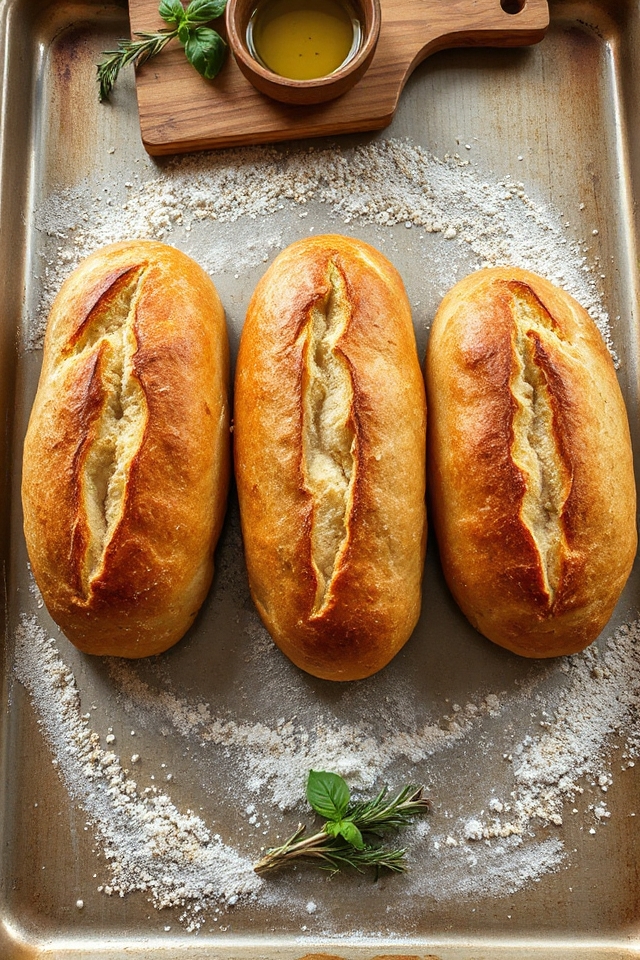
Once they’re doubled again, gently shape each piece into an oblong loaf and place them on a greased baking sheet sprinkled with cornmeal. Cover them with a cloth for one last rise. Just before they go into the oven, score the top lightly with a sharp knife and mist them with water. This helps create that crunchy crust that we all love.
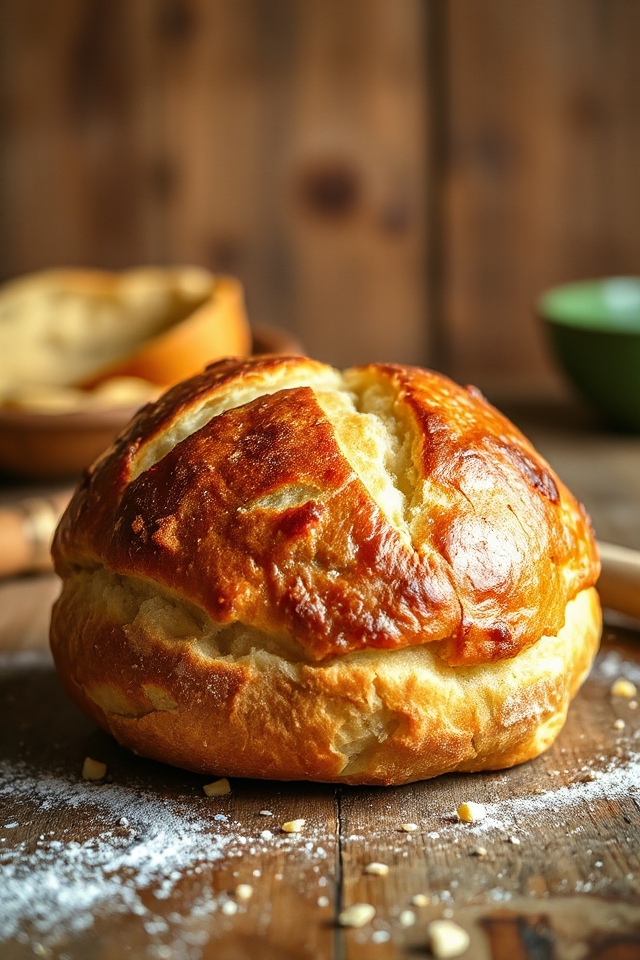
Bake for about 20 minutes or until they’re golden brown and sound hollow when tapped on the bottom. The aroma filling your kitchen will make you feel like a true Italian baker, and I promise, the end result will be worth every bit of flour you’ve dusted on yourself.
Italian Bread Substitutions & Variations
While traditional Italian bread has its charms, there are plenty of substitutions and variations that can elevate your baking experience.
For a whole grain twist, I love using whole wheat flour instead of all-purpose; it adds a nutty flavor. If I’m feeling adventurous, I might incorporate herbs like rosemary or thyme for extra aroma.
For a sweeter loaf, I sometimes add honey or olive oil. You can also experiment with different toppings—try sesame seeds or coarse salt.
Each variation brings its own character, making each loaf a unique creation that reflects my mood and tastes!
Additional Tips & Notes
To guarantee your Italian bread turns out perfectly every time, I recommend paying close attention to the water temperature; it should be warm but not hot, as too much heat can kill the yeast.
When kneading, don’t rush—aim for a smooth, elastic dough, which may take about 10 minutes. If you find the dough sticky, sprinkle a bit more flour, but avoid overdoing it.
For an extra crusty exterior, mist the bread with water during baking.
Finally, let the bread cool completely before slicing; this helps maintain its texture.
Enjoy your homemade bread—it’s truly rewarding!