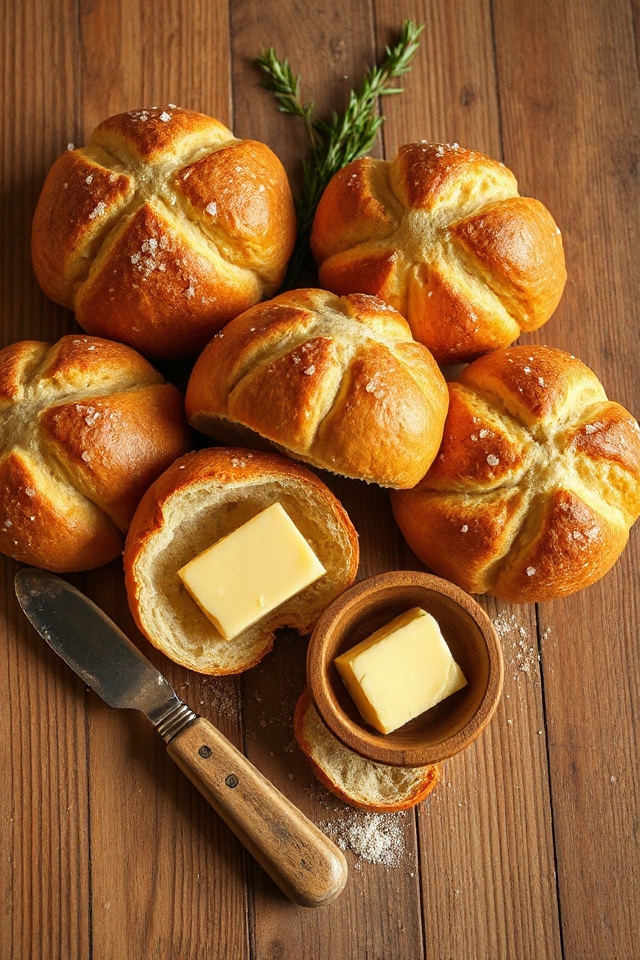
Why You’ll Love This French Bread Rolls Recipe
If you’ve ever tasted a freshly baked French bread roll, then you know just how delightful they can be. I can’t get enough of their crispy crust and soft, airy interior.
This recipe brings that bakery experience right into my kitchen. It’s surprisingly simple, yet the aroma that fills my home while they bake is pure magic.
I love how versatile these rolls are—they’re perfect for any meal, whether it’s a cozy dinner or a festive gathering. Plus, the satisfaction of creating something so delicious from scratch is unbeatable.
Trust me, once you try these, you’ll be hooked!
Ingredients of French Bread Rolls
When it comes to making French bread rolls, the ingredients are pretty straightforward, but they really pack a punch in flavor and texture. You might find some of them in your pantry already, while others are definitely worth a special trip to the store. A little melted butter here, some dry yeast there, and you’re well on your way to creating something truly scrumptious.
Let’s take a look at what you’ll need to whip up these delightful rolls!
Ingredients for French Bread Rolls:
- 2 tablespoons unsalted butter, melted
- 2 1/4 teaspoons dry yeast
- 2 teaspoons sugar
- 2 cups water (70 degrees)
- 1 1/4 ounces nonfat dry milk powder (about 1/2 cup)
- 6 cups all-purpose flour
- 5 teaspoons wheat gluten
- 1 tablespoon salt
- Black pepper, to taste (I recommend about 1 teaspoon coarse ground)
- 1 cup rye flour
- Coarse salt, for sprinkling
Now, before you plunge into the mixing bowl, let’s chat a bit about these ingredients. The unsalted butter adds richness, while the dry yeast is your magical ingredient that helps the dough rise to fluffy perfection.
If you’re like me, you might’ve a slight obsession with the aroma of freshly baked bread—it’s irresistible! And don’t skip the rye flour; it not only gives a lovely flavor but also a rustic touch to your rolls.
As for the salt and pepper, they enhance the overall taste, so feel free to adjust them to your liking. I can’t help but sneak a taste of the dough when I’m making it, and honestly, if you’re not careful, you might find yourself with a bit less dough than planned.
Who knew bread-making could be so deliciously distracting? All right, let’s get into how to make these beauties.
How to Make French Bread Rolls
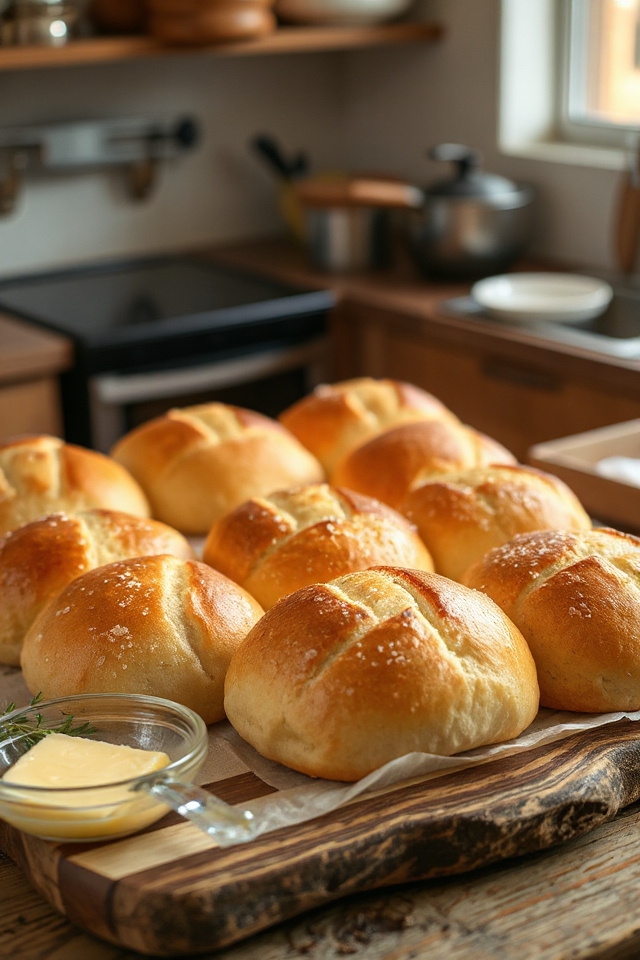
Making French bread rolls is one of those magical processes that transforms simple ingredients into something that can fill your kitchen with warmth and delicious aromas. So, let’s roll up our sleeves and get started!
First, you’ll want to grab 2 1/4 teaspoons of dry yeast and dissolve it in 2 cups of water that’s a cozy 70 degrees. This is where the magic begins—trust me, the smell of yeast working its wonders is like a warm hug for your senses. Once it’s all frothy and bubbly, mix in 2 tablespoons of melted unsalted butter, 2 teaspoons of sugar, 1 1/4 ounces of nonfat dry milk powder (about 1/2 cup), 1 tablespoon of salt, and that pinch of black pepper you’ve got on hand. I usually throw in about 1 teaspoon of coarse ground pepper for a little extra kick, but the choice is yours!
Next, let’s get to the flour. Add in 4 cups of all-purpose flour and mix it all up with a dough hook if you have one—this is where your dough starts to take shape. Once it begins to come together, gradually add in more flour until the dough pulls away from the sides of the bowl. By the time you’re done, you should have about 6 cups of flour in total, plus 5 teaspoons of wheat gluten for that delightful chewiness.
Now, here comes the fun part: knead your dough by hand on a lightly floured surface until it’s smooth and has that perfect elastic texture. I find this part oddly therapeutic; it’s a bit like a stress ball, but tastier.
Once your dough is all kneaded and lovely, pop it into a greased bowl, cover it up, and let it rise for about 2 hours. You’ll want it to double in size. If you’re feeling ambitious, you can even refrigerate the dough overnight or for a couple of days. Just be sure to bring it back to room temperature before shaping.
After the first rise, punch it down (yes, really, it feels good), and let it rise again until doubled—about another 2 hours. When it’s time to shape, divide the dough into 3-ounce portions and roll them into balls. Cover them and let them rise for 45 minutes to an hour.
After that, sprinkle with rye flour, slash the tops with a lame (or a sharp knife if you don’t have one), sprinkle with coarse salt, and pop them in a preheated oven at 450 degrees. Don’t forget to throw in 1/4 cup of ice water to create steam—it’s the secret to that fabulous crust!
Bake for 20-25 minutes, then reduce the heat to 400 for an additional 5 minutes. Once they’re golden brown and irresistible, turn off the oven and give them a few more minutes to crisp up. Let them cool for at least 20 minutes before diving in. Trust me, the wait is worth it. Enjoy your homemade French bread rolls; they’re bound to impress!
French Bread Rolls Substitutions & Variations
After you’ve mastered the basics of crafting French bread rolls, it’s exciting to explore some substitutions and variations that can elevate your baking game.
For a nuttier flavor, try replacing half of the all-purpose flour with whole wheat or spelt flour. If you’re feeling adventurous, add herbs like rosemary or thyme to the dough for an aromatic twist.
You can even experiment with different toppings like sesame seeds or Parmesan cheese instead of coarse salt. And for a slightly sweet touch, incorporate honey or a dash of cinnamon into the dough.
The possibilities are endless—get creative!
Additional Tips & Notes
While I’ve shared the basic steps for making French bread rolls, there are a few additional tips that can help guarantee your baking experience is a success.
First, make sure your water is at the right temperature—too hot can kill the yeast, while too cold can slow it down. I also recommend using a kitchen scale for accurate flour measurements.
If you want a crustier roll, add steam to your oven when baking.
Finally, don’t skip the cooling time; it allows the inside to finish cooking and improves texture. Trust me, these small details make a big difference!