Why You’ll Love This Flat Bread Recipe
You’ll fall in love with this flat bread recipe for its simplicity and deliciousness. I can whip it up in no time, and the aroma fills my kitchen with warmth.
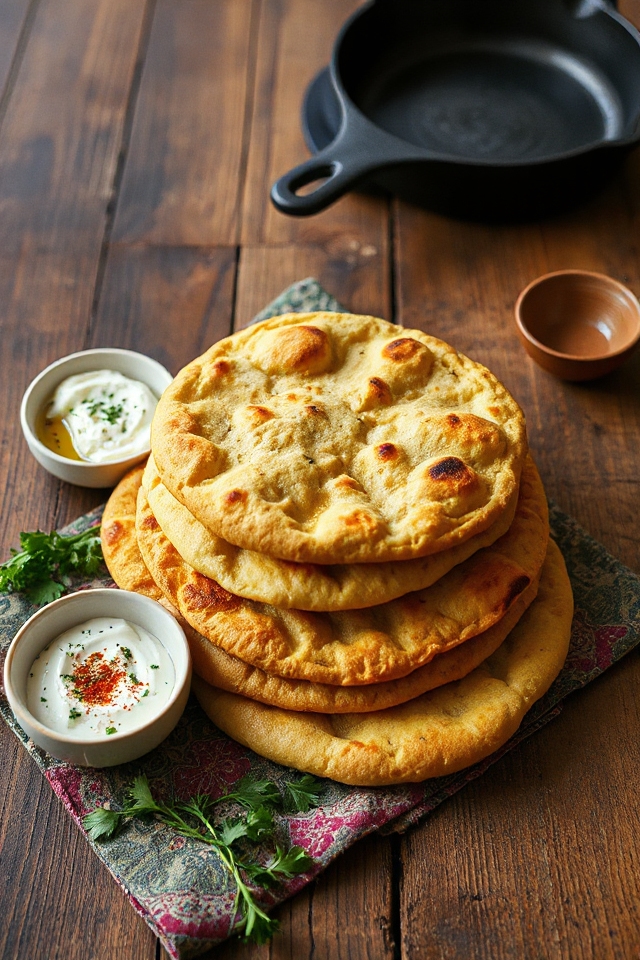
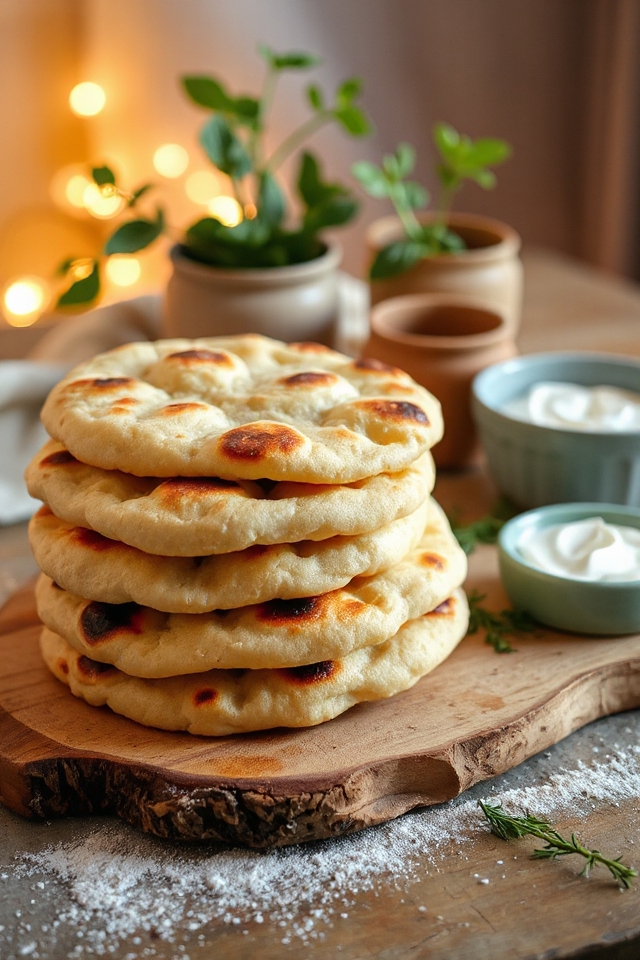
Kneading the dough is therapeutic, and watching it rise feels rewarding. Each flatbread puffs up beautifully in the skillet, creating those perfect little bubbles.
I love serving them warm, straight from the pan, to friends and family. They’re versatile too—great with dips, wrapped around fillings, or enjoyed on their own.
Trust me, once you try this recipe, you’ll want to make it again and again!
Ingredients of Flat Bread
When it comes to making flat bread, having the right ingredients on hand is key to achieving that soft, warm, and oh-so-delicious result. Luckily, the list isn’t too long, and you probably have most of these items already in your pantry.
This recipe is as forgiving as your favorite pair of sweatpants after a big meal—it’s hard to mess up! So, let’s gather our supplies and get ready to whip up some comforting flat bread that will have your taste buds doing a happy dance.
Here’s what you’ll need:
- 1 tablespoon caster sugar
- 7 g sachet dried yeast or 15 g fresh yeast
- 4 cups plain flour
- 1 tablespoon table salt
- 1/2 cup Greek yogurt
- Vegetable oil (for brushing)
Now, before you start mixing, let’s chat about these ingredients a bit. You might be wondering if you can substitute plain flour with whole wheat flour or a gluten-free alternative. The answer? Sure, you can experiment with those, but keep in mind that the texture and flavor might differ a bit.
And if you’re using fresh yeast, just remember that it’s a little more finicky than its dried counterpart, but hey, that’s part of the fun, right? Also, don’t skimp on the yogurt; it gives the flat bread that lovely softness that makes you want to dive right in.
How to Make Flat Bread
Alright, friends, let’s plunge into the world of flat bread making, shall we? First off, grab those trusty ingredients we just gathered. You’ll want to start by mixing 1 tablespoon of caster sugar, either a 7 g sachet of dried yeast or 15 g of fresh yeast, with about 375 ml of warm water in a bowl.
And here’s a little tip: the water should be warm, not hot enough to scald your hand—think of it as a cozy bath for the yeast. Let this sit in a warm spot for about 10 minutes. You’ll know it’s ready when it starts to foam and bubble like the excitement of a kid on Christmas morning.
Next, in a large bowl, combine 4 cups of plain flour with 1 tablespoon of table salt. Give it a good stir to mix everything up, then pour in that foamy yeast mixture and 1/2 cup of Greek yogurt.
Here’s where the fun begins: mix it all together until it forms a dough. If you find it’s sticking to your hands like a toddler in a tantrum, don’t fret. Just sprinkle a bit more flour on your hands and work it out on a lightly floured surface for about 5 minutes, kneading until it’s as smooth as a jazz singer’s voice.
Once you’ve got that dough looking good, place it in a lightly oiled bowl, cover it with a cloth or tea towel, and let it rise in a warm spot for about 2 hours. This is the dough’s time to shine, so give it some space.
After your dough has risen and doubled in size, it’s time to punch it down—yep, literally. Give it a good punch to release some of that built-up air, then divide it into 8 equal portions.
Place these on lightly oiled trays, cover them again, and let them rest for another 15 minutes. In the meantime, heat up a cast iron skillet or frying pan over medium heat. Brush it lightly with oil because nobody likes a sticky situation.
Roll out a piece of dough into a thin 22 cm round on a floured surface and when your skillet is hot enough, toss it in. Cook for about 1 minute on each side until you see those lovely brown spots and a few bubbles forming.
Keep them warm under a cloth as you repeat with the remaining dough. And voilà, you’ve just made some delightful flat bread! Store any leftovers in an airtight container, or if you’re feeling generous, freeze them for a later day when the craving hits. Enjoy your homemade creation!
Flat Bread Substitutions & Variations
While traditional flat bread is delicious, there are plenty of substitutions and variations that can elevate your recipe.
For a gluten-free option, I love using almond or coconut flour. If you’re after a whole grain twist, try whole wheat or spelt flour.
Adding herbs like rosemary or thyme can enhance the flavor, while incorporating spices like cumin or paprika adds a unique touch.
For a richer dough, I sometimes replace yogurt with buttermilk or kefir. You can even experiment with toppings—think garlic, cheese, or olives.
The possibilities are endless, so don’t hesitate to get creative with your flat bread!
Additional Tips & Notes
If you’re experimenting with different flours and flavors, there are a few additional tips that can help you perfect your flat bread.
First, always verify your yeast is fresh; a quick test is to see if it foams when mixed with warm water and sugar.
When rolling out the dough, aim for even thickness to guarantee consistent cooking.
If you want a more flavorful bread, try adding herbs or spices directly into the dough.
Finally, don’t skip the resting periods; they’re essential for achieving that perfect texture.
Enjoy your baking, and feel free to get creative with toppings too!