Why You’ll Love This Bread Bowls Recipe
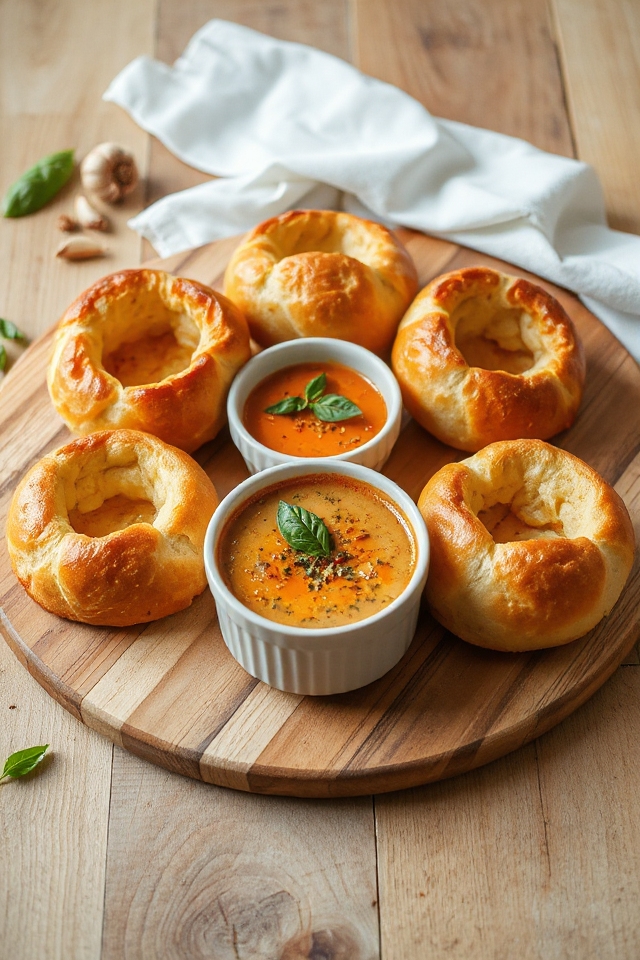
When you try this bread bowls recipe, you’ll quickly realize why it’s a favorite in my kitchen. The warm, fresh bread forms a perfect vessel for soups or salads, making every meal feel special.
I love how easy it’s to prepare, yet the results impress everyone. The crispy exterior and soft, fluffy interior create a delightful contrast that elevates any dish.
Plus, you can customize them for any occasion! Whether you’re hosting a dinner or just enjoying a cozy night in, these bread bowls add a touch of comfort and creativity to your table.
You won’t want to miss out!
Ingredients of Bread Bowls
When it comes to making bread bowls, having the right ingredients is key to whipping up those delicious, warm vessels that hold your favorite soups or salads.
Let’s take a look at what you’ll need to gather before diving into the fun of making these delightful creations. It’s a straightforward list, but don’t underestimate the magic that happens when these simple ingredients come together.
Ingredients for Bread Bowls
- 1 (1/4 ounce) package active dry yeast
- 2 tablespoons sugar
- 3/4 cup water (between 105°F and 115°F)
- 3 cups Bisquick reduced-fat baking mix
Now, let’s chat about these ingredients a bit. First off, the yeast is what brings our bread to life, so make sure it’s fresh. Old yeast is like that friend who constantly cancels plans—no fun at all.
The sugar is essential, as it helps feed the yeast and gives a hint of sweetness to the dough. The water temperature is also important; if it’s too hot, it’ll kill the yeast, and if it’s too cold, well, your dough might just sit there, sulking.
Bisquick is a convenient choice here, as it makes the process a whole lot easier, but if you’re feeling adventurous, you could experiment with your own flour mix. Just be ready for some trial and error—my kitchen has seen its fair share of flour explosions, let me tell you.
How to Make Bread Bowls
Alright, let’s get down to the nitty-gritty of making those delightful bread bowls. First off, you’ll want to start by activating your yeast. Grab that 1/4 ounce package of active dry yeast and mix it with 2 tablespoons of sugar in a large bowl.
Now, here’s where the magic begins—pour in 3/4 cup of warm water, aiming for a cozy temperature between 105°F and 115°F. If you don’t have a thermometer, just trust your instincts; it should feel warm to the touch, kind of like a cozy hug. Let that mixture sit for a few minutes until it starts to bubble—a sure sign that your yeast is ready to party.
Next up, it’s time to bring the dough together. Stir in 3 cups of Bisquick reduced-fat baking mix until a ball of dough forms, pulling away from the sides of the bowl. If it’s sticking like glue, give it a little more Bisquick love.
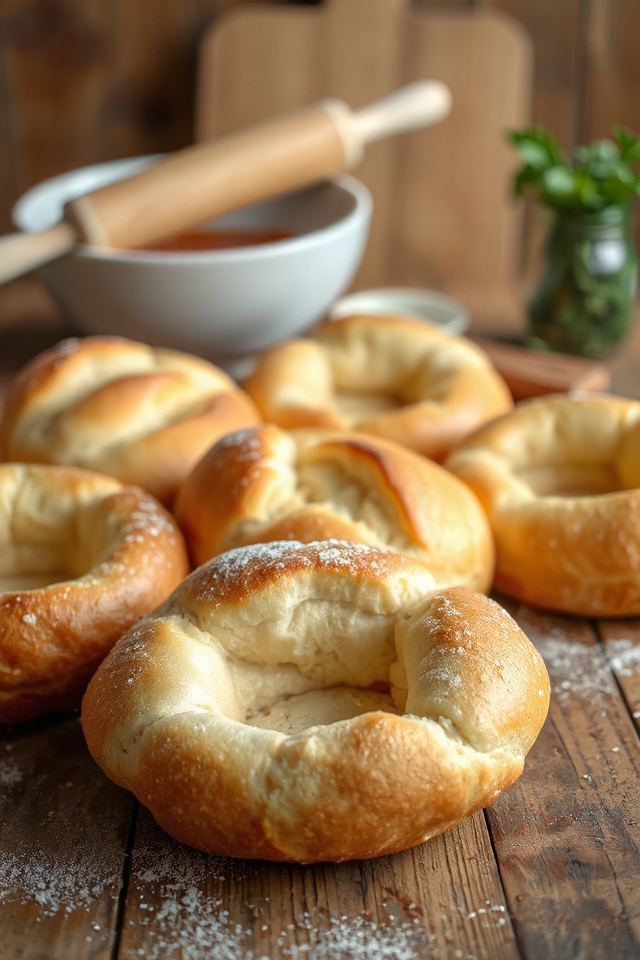
Once you’ve got a nice dough ball, turn it out onto a surface that’s lightly dusted with more Bisquick. Knead it gently for about a minute until it’s smooth. And don’t worry if it’s not perfect; remember, it’s just bread. Cover your dough with a towel and let it rise for about 10 minutes.
This is a great time to get your oven preheated to 375°F and grease the outsides of five 10-ounce custard cups. Just think of them as your little bread bowl molds—so cute!
Now comes the fun part! After the dough has risen, divide it into five equal parts. Roll or pat each piece into a 7-inch circle, and then shape those circles over the outsides of your greased custard cups. Make sure not to curl the dough under the edges; we want those bowls to look nice and rustic.
Pop them in the oven for 15 to 18 minutes until they’re golden brown and smell absolutely divine. Once they’re done, give those cups a little tap to loosen the bread bowls and let them cool for a few minutes before carefully lifting them off the cups.
Be cautious—those cups are hot! Once you’ve got them cooling upside down on a wire rack, you can feel free to start dreaming about filling them with your favorite soup or that scrumptious Chicken Caesar Salad. Enjoy the deliciousness you’ve just created!
Bread Bowls Substitutions & Variations
After mastering the basics of making those delightful bread bowls, it’s time to get creative with substitutions and variations.
You can easily swap out Bisquick for whole wheat flour or gluten-free alternatives if you’re looking for healthier options.
Want a savory twist? Add herbs like rosemary or garlic powder directly into your dough.
For a touch of sweetness, consider mixing in a bit of honey or using a cinnamon sugar topping before baking.
If you’re feeling adventurous, try shaping the dough into smaller bowls for individual servings.
The possibilities are endless, so let your imagination run wild!
Additional Tips & Notes
While you’re preparing to make these delicious bread bowls, keep a few additional tips in mind to guarantee success.
First, make sure your water temperature is just right; too hot can kill the yeast. I find it helpful to knead the dough briefly for a smooth texture.
Don’t rush the rising time; even a 10-minute rise enhances the flavor.
When shaping the dough over the custard cups, avoid curling the edges under for even baking.
Finally, let the bread bowls cool completely on a wire rack before filling them. Your patience will pay off with a delightful, sturdy bread bowl!