Why You’ll Love This Basic Sourdough Bread Recipe
If you’ve ever tasted a warm slice of freshly baked sourdough, you know it’s a game-changer. The crust is perfectly golden, and when you tear it open, the soft, tangy interior just calls for butter or your favorite spread.
I love how simple ingredients transform into something extraordinary through the fermentation process. Plus, making sourdough is incredibly rewarding; the aroma that fills my kitchen while it bakes is simply irresistible.
And let’s be honest—there’s something special about sharing homemade bread with friends and family. Trust me, once you try this recipe, you’ll be hooked on sourdough for life!
Ingredients of Basic Sourdough Bread
When it comes to baking sourdough bread, having the right ingredients is key to crafting that perfect loaf. You might think that bread is just flour, water, and yeast, but sourdough takes it to another level. It’s all about that magical interaction between your starter, the ingredients, and a little bit of time.
So, let’s gather what we need to get started on this delicious journey.
Here’s what you’ll need for the Basic Sourdough Bread:
- 2 cups proofed sourdough starter
- 1 tablespoon butter
- 1/2 cup milk
- 1 teaspoon salt
- 1 tablespoon sugar
- 3 cups white bread flour
Now, before you plunge into it, there are a couple of things to keep in mind. First off, the quality of your ingredients can really impact the final product. Fresh flour can make a difference, and if you’ve got the option, go for a high-protein bread flour—it gives your loaf that nice chewy texture.
And then there’s the sourdough starter; make sure it’s nice and bubbly from proofing. If it’s been sitting in your fridge for a while, give it a good stir and maybe a feeding to wake it up.
Trust me, nothing beats the aroma of fresh bread baking in your kitchen, and with these ingredients, you’re well on your way to creating something truly special.
How to Make Basic Sourdough Bread
Making Basic Sourdough Bread is like starting a delicious adventure in your kitchen. First things first, you need to begin with your 2 cups of proofed sourdough starter. If you’re wondering what proofing means, it’s just letting your starter get nice and bubbly. You do this by mixing 1 cup of your starter with 1 ½ cups of flour and warm water, giving it time to work its magic for about 8 to 12 hours. The longer you let it sit, the tangier your bread will be. Trust me, the smell alone is worth the wait.
Once you’re ready, pour that bubbly starter into a mixing bowl and marvel at how alive it looks.
Next up, melt 1 tablespoon of butter. I’m all for using a microwave for this—quick and no fuss. Then, stir in ½ cup of milk until it’s warm, around 85 degrees F. Add in 1 teaspoon of salt and 1 tablespoon of sugar, mixing until everything is dissolved. This mixture is going to give your bread that lovely flavor balance.
Now, pour this buttery, milky goodness into your starter and mix it up. Grab your 3 cups of white bread flour and start adding it in one cup at a time. You might think this is a workout for your arms, but it’s all worth it when the dough becomes too stiff to mix by hand. Then, it’s time to turn it out onto a floured board and knead in the rest of the flour until it’s smooth and satiny.
Once you’ve got that perfect dough, pat it into a 1-inch thick oval, roll it up from the long side, and pinch the seam together. Don’t forget to tuck those ends under—nobody wants a loaf with frizzy ends. Place it in a lightly greased loaf pan, cover it, and let it rise in a warm spot for about 1 ½ to 3 hours until it’s puffed up.
Preheat your oven to 375 degrees F while you wait, because you want everything to be ready for that magic moment. When it rises about 1 to 2 inches above the pan, pop it in the oven. After 10 minutes, lower the heat to 350 degrees F and let it bake for another 30 to 40 minutes. Just remember, every oven is a bit different, so keep an eye on that crust.
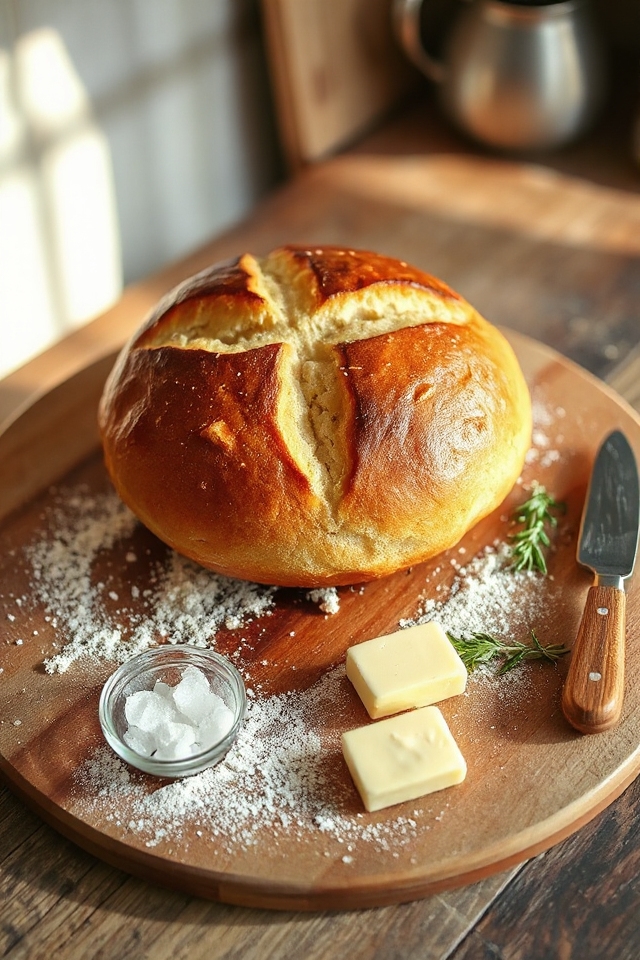
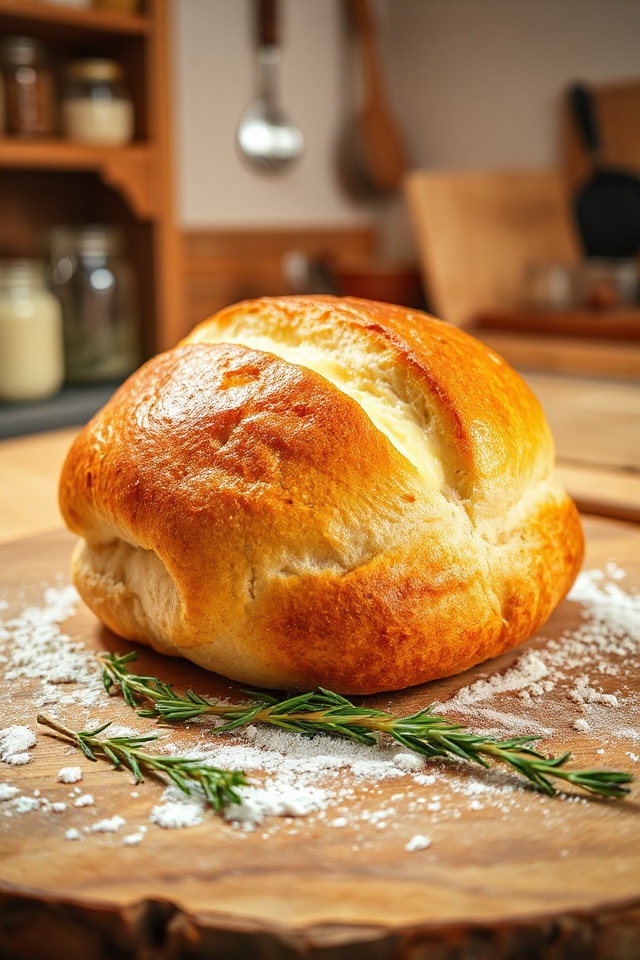
Once it’s golden and delicious, brush the top with a little melted butter, turn it out of the pan, and let it cool on a wire rack. And there you have it, your very own homemade sourdough masterpiece!
Basic Sourdough Bread Substitutions & Variations
After enjoying the satisfaction of baking your own sourdough bread, you might want to experiment with some substitutions and variations to suit your taste.
For a richer flavor, try using olive oil instead of butter or substitute almond milk for a dairy-free option.
You can also mix in whole wheat flour for added nutrition or experiment with different flours like spelt or rye.
For a touch of sweetness, consider adding honey or maple syrup in place of sugar.
Feel free to toss in herbs, seeds, or even dried fruit to customize your loaf and make it uniquely yours!
Additional Tips & Notes
Although baking sourdough bread is a rewarding experience, there are a few additional tips that can enhance your results.
First, always use a kitchen scale for precise measurements; this can make a significant difference. I recommend letting your dough rise in a warm spot, as temperature affects fermentation.
When shaping, don’t rush—take your time to create surface tension. If you want a crustier loaf, try placing a pan of water in the oven.
Finally, patience is key: let your bread cool completely before slicing to avoid gummy slices.
Enjoy the process, and happy baking!