Why You’ll Love This Breadsticks Recipe
Whether you’re hosting a dinner party or enjoying a cozy night in, you’ll love this breadsticks recipe for its perfect balance of flavor and texture.
I can’t get enough of how the warm, soft inside contrasts with the slightly crispy outside. The aroma wafting through my kitchen is simply irresistible.
Plus, they’re incredibly versatile; I’ve paired them with pasta, salads, and even soups. They’re easy to make, and I often whip up a batch ahead of time for quick snacks.
Trust me, once you try these, they’ll become a staple in your home, and you’ll never want store-bought again!
Ingredients of Breadsticks
When it comes to making delicious breadsticks, having the right ingredients is essential. You want to make certain that you’ve got everything you need before you plunge into the kitchen. Trust me, there’s nothing worse than getting halfway through a recipe only to find out that you’re missing a key ingredient.
So, let’s gather what you’ll need to get started on these delightful breadsticks that will surely impress your family and friends.
Here’s a handy list of the ingredients you’ll need:
- 2/3 cup warm milk (whole milk works best for a richer flavor)
- 7/8 cup warm water (or about 5/6 cup, but who’s counting, right?)
- 1 tablespoon sugar
- 1 teaspoon salt
- 1/2 ounce yeast (about two packets of rapid rise yeast)
- 1 cup unbleached all-purpose flour
- 1 1/2 cups enriched bread flour
- 1 tablespoon cornmeal (for rolling; it adds a nice touch)
- 1 teaspoon cooking oil (for greasing your cookie sheet)
- Garlic powder (for that extra flavor)
- Egg white (or olive oil, if you’re feeling fancy)
Now, let’s talk a bit about the ingredients. Using whole milk will give you that smooth crust and richer taste that makes your breadsticks oh-so-addictive.
Also, don’t stress too much about the exact measurements for the water. As long as it’s warm, you’re in good shape.
And remember, the type of flour you use can impact the texture of your breadsticks; the enriched bread flour will offer that lovely chewiness we all crave.
If you don’t have cornmeal, no worries, flour will do just fine. Just keep it handy for rolling the dough out.
Finally, sprinkling on garlic powder is a game-changer, but feel free to get creative with herbs or spices based on what you love.
Let’s get baking!
How to Make Breadsticks
Making breadsticks is a delightful adventure in the kitchen, and trust me, it’s easier than it sounds. First things first, you’ll want to start with 2/3 cup of warm milk. I always pop it in the microwave for just a bit until it’s cozy, about 110 degrees F—though honestly, if you’re a little off, the breadsticks won’t hold it against you.
Once that’s done, add 7/8 cup of warm water to the milk. Now, I know measuring 7/8 cup can feel a bit like a math puzzle, but just think of it as close enough to 5/6 cup. Pour this warm mixture into your bread machine or mixing bowl, and then sprinkle in 1 tablespoon of sugar, 1 teaspoon of salt, and 1/2 ounce of yeast (which is about two packets of rapid-rise yeast).
Now, here’s where the fun begins—add in 1 cup of unbleached all-purpose flour and 1 1/2 cups of enriched bread flour. If you’re using a bread machine, simply hit that ‘dough’ cycle and keep an eye on it. I’ve had my dough rise so much that it looked like it was trying to escape the machine. If it starts to peek above the pan, go ahead and take it out early.
If you’re using a mixer, just be patient and wait until the dough doubles in size. While that’s happening, preheat your oven to 425°F, and when the dough is ready, it’s time to roll. Dust your work surface with a good amount of cornmeal (or flour if you’re fresh out of cornmeal), and roll out the dough to about 1/2 to 3/4 inch thick. I always sprinkle a bit of flour on top if it sticks.
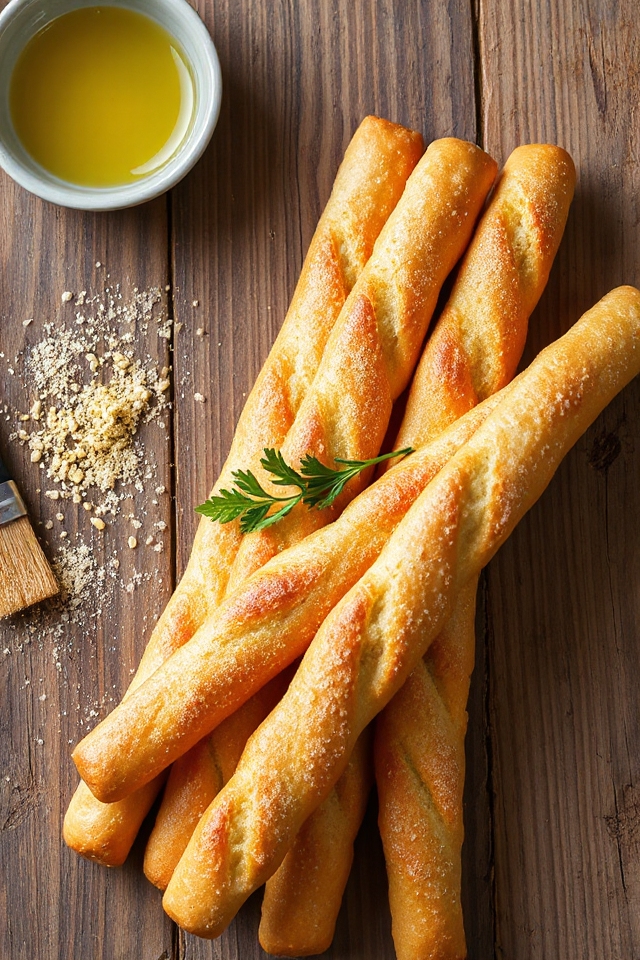
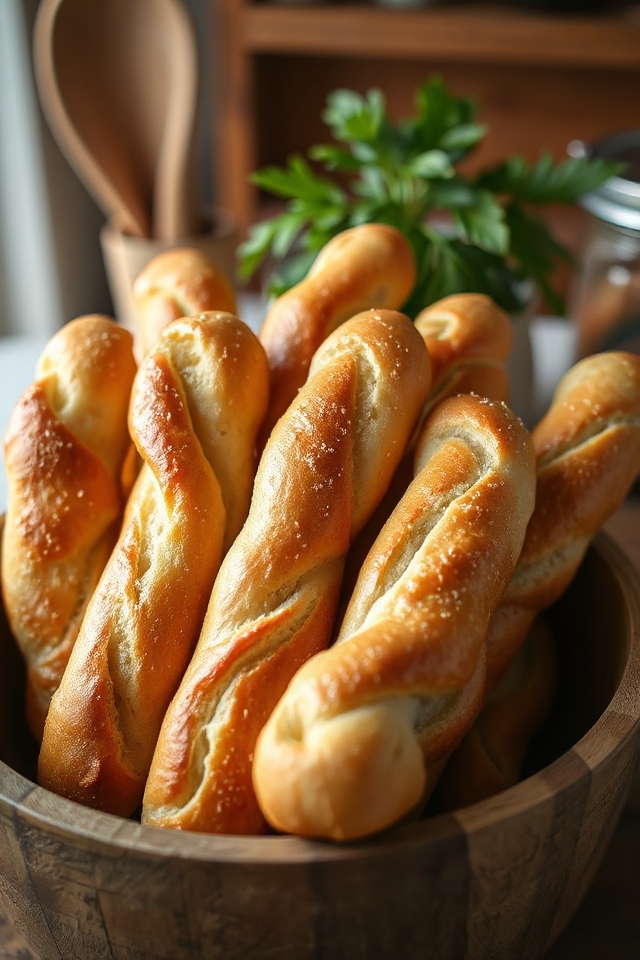
Cutting the dough into strips is next—about 1/2 to 3/4 inch wide. I find that using a pastry scraper works wonders, as dragging a knife can be a sticky situation. Place the strips on an oiled cookie sheet, and if you’re feeling creative, you can even braid them or shape them however you’d like.
For a little extra flavor, brush the tops with egg white or olive oil and sprinkle garlic powder over them. Now, into the oven they go for about 10 to 12 minutes, until they’re beautifully golden brown. After taking them out, let them cool just a bit before diving in.
And if you’re like me and can’t wait, it’s totally acceptable to burn your tongue on that first hot breadstick. Just know that you can freeze any leftovers, and when you’re ready, pop them in the oven for a quick five minutes to warm them up. Enjoy the deliciousness!
Breadsticks Substitutions & Variations
After you’ve mastered the basic breadsticks recipe, you might want to switch things up with some fun substitutions and variations.
For a cheesy twist, try adding grated Parmesan or mozzarella to the dough. If you like herbs, sprinkle Italian seasoning or fresh rosemary in before baking.
You can also experiment with different flours, like whole wheat or even gluten-free blends. For a sweet version, incorporate cinnamon and sugar for a dessert-style breadstick.
Finally, brush with melted butter infused with garlic or herbs for extra flavor. Don’t be afraid to get creative; the possibilities are endless!
Additional Tips & Notes
Although baking breadsticks can be straightforward, a few additional tips can enhance your experience and results.
First, make sure your liquids are warm but not hot; this helps the yeast activate without killing it. I like to let the dough rise in a warm spot, covering it with a cloth for a cozy environment.
For extra flavor, consider adding herbs or cheese directly into the dough. If you want a crispy exterior, place a pan of water in the oven while baking.
Finally, don’t forget to experiment with shapes—braiding can add a fun twist to your breadsticks! Enjoy!