Why You’ll Love This Cuban Bread Recipe
If you’ve ever tasted authentic Cuban bread, you know why it’s a beloved staple in many households. The moment you sink your teeth into that crusty exterior, followed by the soft, airy inside, you’re hooked.
I love how it complements everything, from a simple butter spread to a hearty sandwich. The aroma that fills my kitchen while it bakes is irresistible, creating an atmosphere of warmth and comfort.
Plus, making Cuban bread is a rewarding experience; the process connects you to tradition. Trust me, once you try this recipe, you’ll understand why it’s a cherished part of my culinary journey.
Ingredients of Cuban Bread
To make delightful Cuban bread, you’ll need a few simple ingredients that come together to create that irresistible crusty exterior and soft, airy inside. It’s incredible how just a handful of components can transform into something so comforting and delicious. Plus, you probably have most of these ingredients already lurking in your pantry.
Let’s take a look at what you’ll need to whip up this classic recipe.
Ingredients for Cuban Bread:
- 1 (1/4 ounce) envelope dry active yeast
- 3 cups water (divided)
- 1 pinch salt
- 4 cups bread flour
- 2 tablespoons solid shortening
Now, let me tell you, the magic of Cuban bread lies not just in the ingredients but in how you use them. For example, the yeast is essential—it’s the little powerhouse that makes your dough rise and gives it that airy texture.
And don’t skimp on the bread flour; it’s stronger and has a higher protein content than regular flour, helping to create that perfect chewy texture we all crave. Solid shortening? Well, that’s what helps create that flaky crust that you just can’t resist.
If you want to go the extra mile, try experimenting with different types of water; some bakers swear by using filtered water for an even better rise. Just remember, the key is in the details, and each ingredient plays a significant role in your bread-making adventure.
How to Make Cuban Bread
Dust your countertop with a little flour and turn that dough out. Knead it for about 8 to 10 minutes, channeling your inner baker as you fold, push, and stretch that dough. You want it to become smooth and elastic—like a well-behaved rubber band.
Once you’ve got it just right, form it into a ball and place it in a bowl. Cover it with a damp towel and let it hang out in a warm spot for about an hour. This is where the magic happens! After it rises and doubles in size, give it a good punch down (yes, let out all that pent-up energy), and let it rise again for another 30 minutes.
Now, roll that dough into an oblong shape, about 3 inches wide and 12 inches long, and place it crease-side up, letting it rest until it doubles in size again—about 15 to 20 minutes.
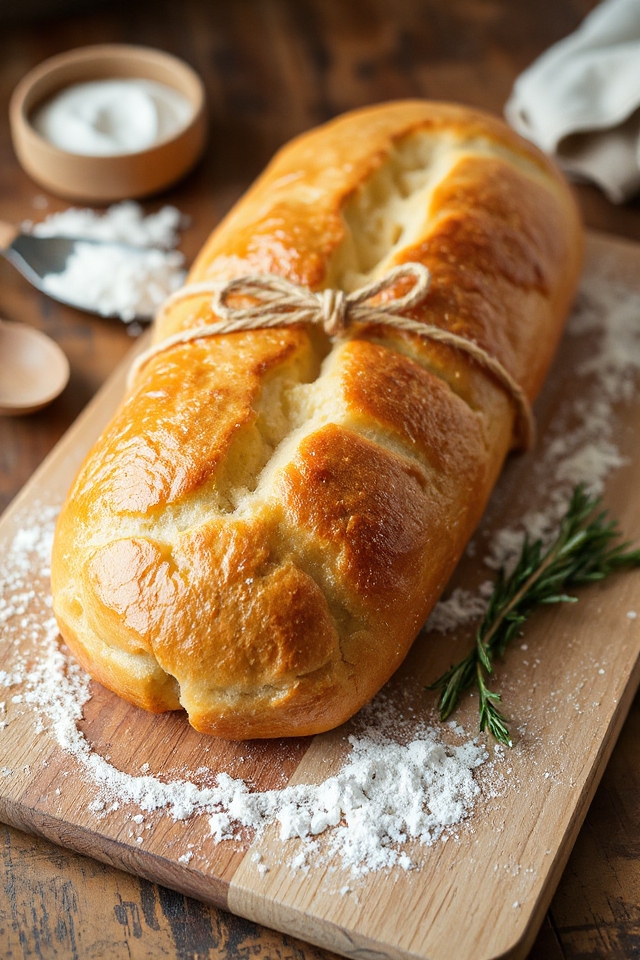
While you’re waiting, preheat your oven to a cozy 300º F. Just before baking, give the dough a light brush with water for that coveted crust. If you want to feel fancy, place a strand of thick butcher’s string along the top to create a baker’s signature crease.
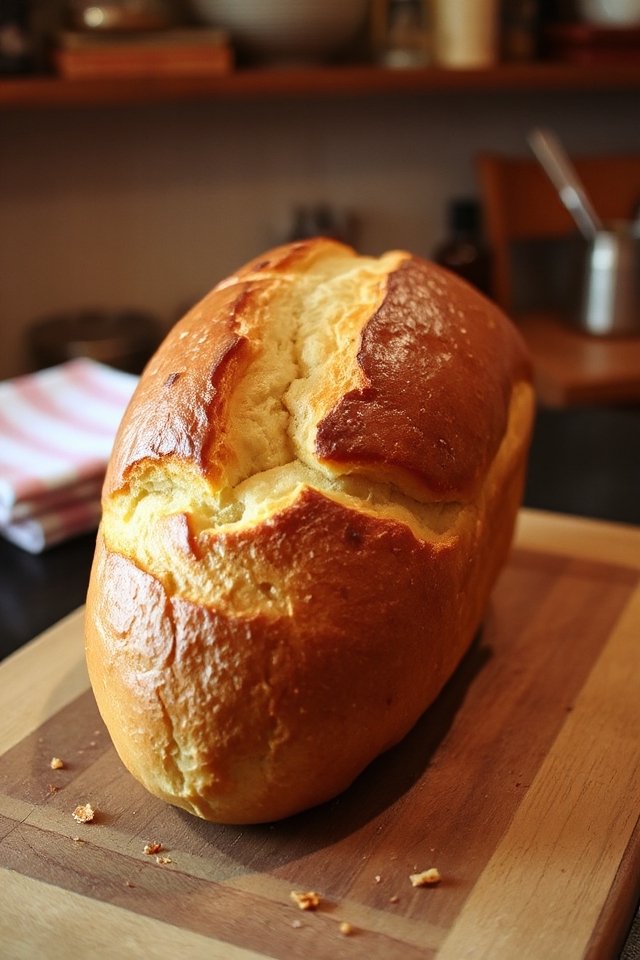
Bake it for 30 to 45 minutes until it’s golden brown and makes your kitchen smell heavenly. Once it’s out of the oven, don’t forget to remove that string.
And there you have it—fresh Cuban bread, ready to be enjoyed. Just try not to eat it all in one sitting; it’s harder than it sounds.
Cuban Bread Substitutions & Variations
After enjoying the process of making Cuban bread, you might find yourself curious about how to tweak the recipe or explore different flavors.
I’ve experimented with using half bread flour and half all-purpose flour for a softer texture. You can also add a tablespoon of sugar for a touch of sweetness.
If you’re feeling adventurous, try incorporating herbs like rosemary or garlic into the dough. For a whole grain option, substitute a portion of the flour with whole wheat.
Each variation brings a unique twist to this classic bread, allowing you to personalize it to your taste!
Additional Tips & Notes
While making Cuban bread can be a rewarding experience, there are a few tips that can enhance your results.
First, verify your yeast is fresh; it’s essential for a good rise. I like to use warm water for dissolving the yeast, as it activates it better.
When kneading, don’t rush—take your time to develop that gluten. For a crustier exterior, consider placing a pan of water in the oven while baking.
Finally, be patient with the rising times; they can vary. Trust your instincts, and you’ll create a delicious loaf that’s perfect for any meal!