Why You’ll Love This Rye Bread Recipe
There’s something incredibly satisfying about baking your own rye bread at home. The aroma fills my kitchen, wrapping me in warmth and nostalgia.
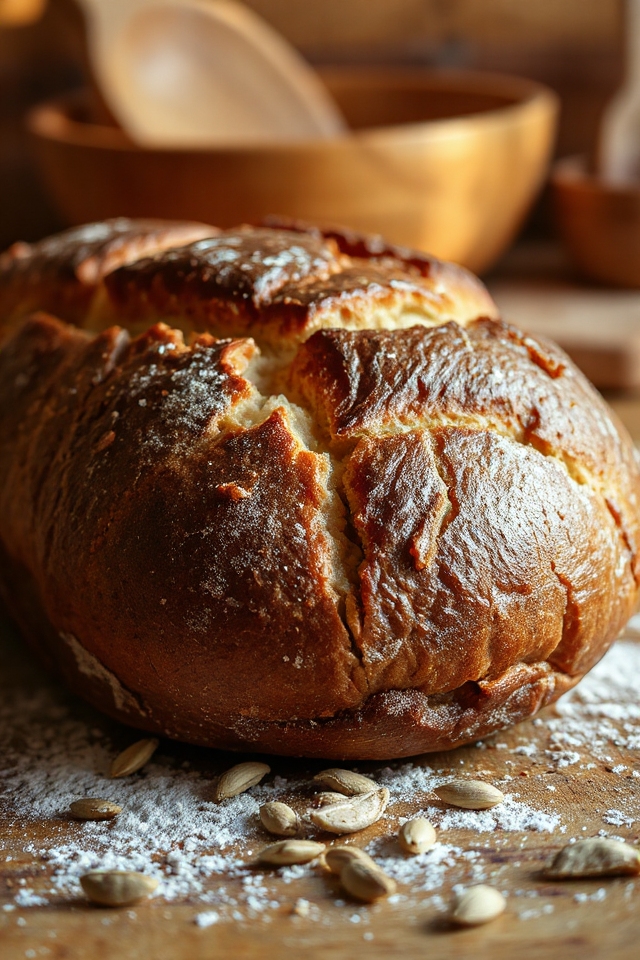
I love the way the crust develops, crisp and inviting, while the inside remains soft and hearty. Each slice is a perfect blend of rich flavors, making it ideal for sandwiches or simply toasting with butter.
Plus, knowing I’ve crafted it from scratch gives me a sense of accomplishment. It’s not just about the bread; it’s about the experience—the kneading, the waiting, and finally enjoying a slice fresh from the oven.
You won’t regret trying it!
Ingredients of Rye Bread
When it comes to making rye bread, the ingredients are just as important as the technique. The combination of rye flour, warm water, and a touch of sweetness from molasses and brown sugar creates that unique flavor profile that makes rye bread so beloved.
Trust me, you’ll want to gather these ingredients before you get started because once you smell that bread baking, you’ll be glad you did.
Here’s a handy list of what you’ll need to whip up this delicious rye bread:
- 4 cups warm water
- 3 cups rye flour
- 1/2 cup molasses
- 1/4 cup brown sugar
- 2 envelopes dry yeast (or 4 teaspoons yeast)
- 1 tablespoon fennel seed, crushed
- 3 tablespoons corn oil (or any vegetable oil)
- 1 tablespoon salt
- 8 – 9 cups all-purpose flour (plus more for kneading)
Now, let’s chat about some considerations regarding these ingredients. First off, the quality of your flour can make a big difference. Opt for a good brand of rye flour for that authentic flavor.
And don’t skimp on the yeast—using fresh yeast is key to a good rise. If you’re feeling adventurous, you can try adding seeds or herbs to the mix for a little extra flair. Just think about how fancy you’ll feel serving up homemade rye bread with your special twist.
Oh, and if you happen to spill some flour on yourself, no worries. It just means you’re a true baker in the zone.
How to Make Rye Bread
Alright, let’s plunge into the delightful process of making your very own rye bread. Trust me, once you get the hang of it, there’s something incredibly satisfying about kneading that dough and smelling it bake away in the oven. So, grab your ingredients and let’s get started.
First things first, in a large bowl, combine 4 cups of warm water, 3 cups of rye flour, 1/2 cup of molasses, 1/4 cup of brown sugar, 2 envelopes of dry yeast, and 1 tablespoon of crushed fennel seed. Stir it all together until it’s nice and smooth. This mixture is your sponge, and it needs some time to come alive. Cover the bowl with plastic wrap and let it rise for about an hour, or until it’s doubled in size.
While you wait, you can daydream about the smell of freshly baked bread or maybe even contemplate your life choices while staring into the abyss of the rising sponge.
Once that sponge has risen like it’s been training for a marathon, it’s time to add a bit of oil and salt. Mix in 3 tablespoons of corn oil and 1 tablespoon of salt, followed by 3 cups of all-purpose flour, stirring until it’s well combined.
Now, for the fun part: start adding in the remaining flour, about 1/2 cup at a time, until you have a soft dough. You’ll want to get your hands in there, place the dough on a floured board, and knead it for about 10 minutes. Yes, I know it sounds like a workout, but think of it as a two-for-one deal: you get bread and a mini arm workout.
As you knead, add more flour as needed until the dough isn’t sticky anymore. When it’s nice and smooth, grease up a large bowl, toss the dough in there, and turn it to coat all sides. Cover it again and let it rise for another 1 to 1.5 hours until it doubles in size.
After that, it’s time to punch down the dough—yes, actually punch it down—and let it rise again for about an hour. This is where the magic happens. Preheat your oven to 350 degrees F while the dough is rising for the final time.
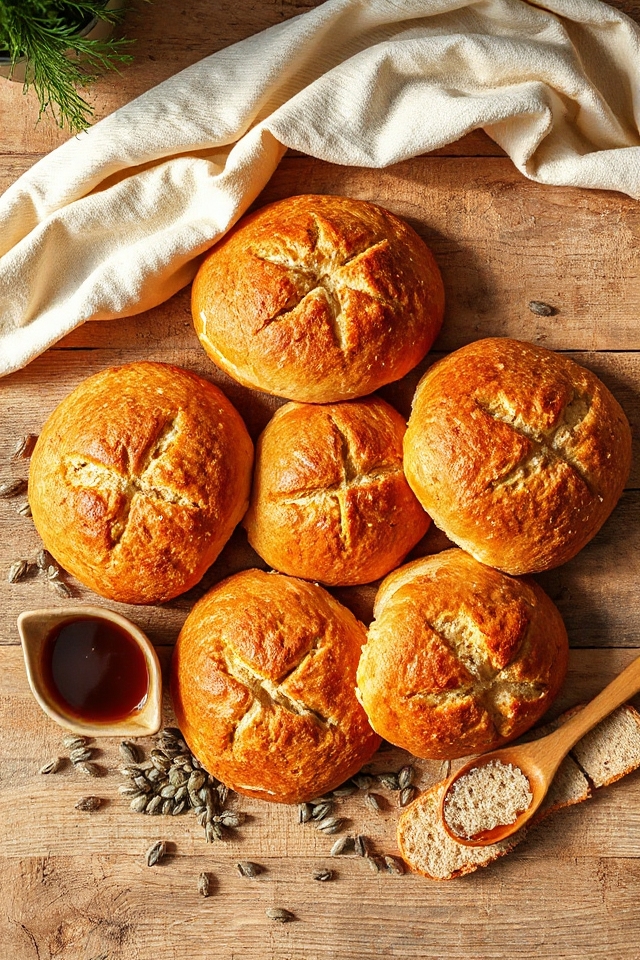
Once it’s ready, dust your counter again with flour, knead the dough for just a minute or two, and then divide it into four pieces. Shape each piece into a round loaf and place them on greased baking sheets. Feel free to get creative and mark an X on top of each loaf if you’re feeling fancy.
Cover them one last time and let them rise for another hour. Finally, pop those beauties into the oven and bake for about an hour. When they sound hollow when tapped on the bottom, you know they’re done.
And there you have it—your very own homemade rye bread that’ll make your kitchen smell like heaven. Enjoy every slice!
Rye Bread Substitutions & Variations
After mastering the art of making rye bread, you might want to experiment with different flavors and textures.
Try adding caraway seeds for a classic touch, or mix in dried herbs like rosemary for an earthy flavor. If you love a sweeter loaf, consider incorporating honey or even dried fruits like raisins.
For a nuttier taste, substitute some rye flour with whole wheat flour or spelt. You can also play with the moisture level by adding buttermilk for a richer crumb.
Each variation brings a new twist, so don’t hesitate to get creative and find your perfect rye bread!
Additional Tips & Notes
To guarantee your rye bread turns out perfectly, I recommend keeping a few key tips in mind.
First, always measure your ingredients accurately; even a slight variation can affect the texture. If the dough feels too sticky, don’t hesitate to add a bit more flour as you knead.
Also, be patient during the rising times; it’s essential for flavor development. I find that marking an “X” on top adds a nice touch and helps with even baking.
Finally, let your bread cool completely before slicing; it’ll enhance the flavor and texture.
Enjoy your baking journey!